Every seed-starting failure looks a little different — leggy, pale seedlings stretching toward a window, healthy sprouts that suddenly damp off and collapse overnight, or seeds that simply never germinate at all. Almost every one of these problems traces back to the same root cause: the right seed, planted in the wrong conditions, with the wrong supplies backing it up.
Seed starting looks simple on paper — soil, seed, water, light — but each of those steps has a specific product built to get it right, and skipping the right tool for the job is usually why gardeners end up buying transplants at the store instead of growing their own from seed. A complete seed-starting guide walks through the process itself; this guide focuses specifically on the five supplies that make the biggest difference in whether that process actually succeeds.
Below is a breakdown of what each supply does, exactly why it matters, and which one to prioritize first if you’re building a seed-starting setup from scratch.
Quick Answer
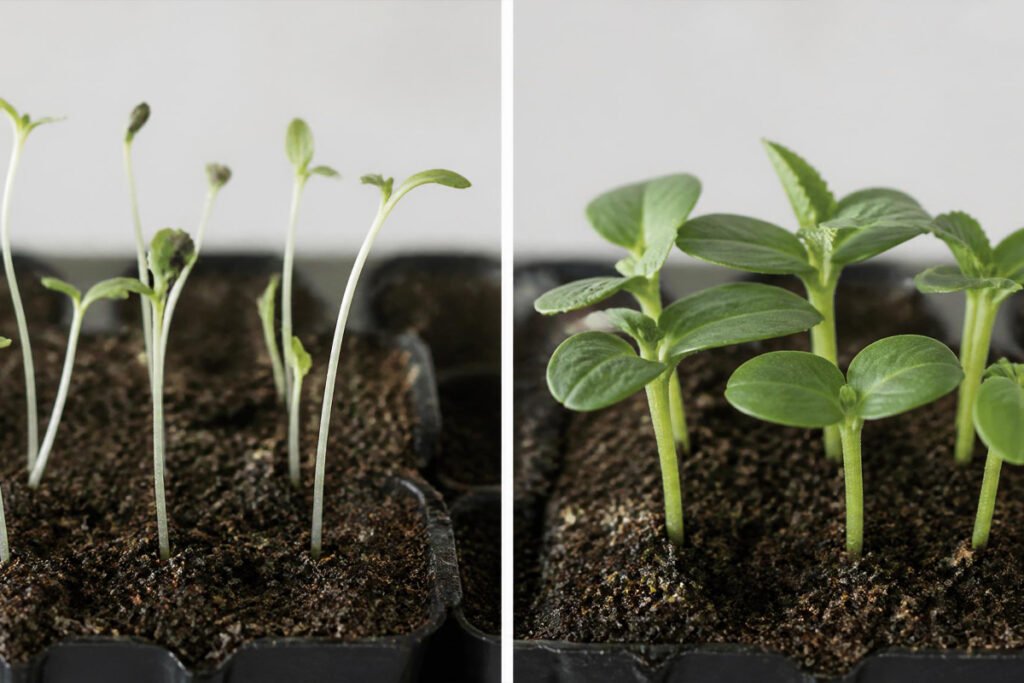
The five seed-starting supplies that make the biggest difference in germination and seedling health are a seed starting tray with cells, a seed starting mix formulated specifically for germination rather than general potting soil, a seedling heat mat to speed and even out germination, a grow light to prevent leggy, weak stems, and a humidity dome to lock in moisture during the critical first days after sowing. Beginners starting a small windowsill setup should prioritize the tray, mix, and dome first, while anyone starting warm-season crops like tomatoes and peppers indoors will see the fastest improvement from adding a heat mat and grow light.
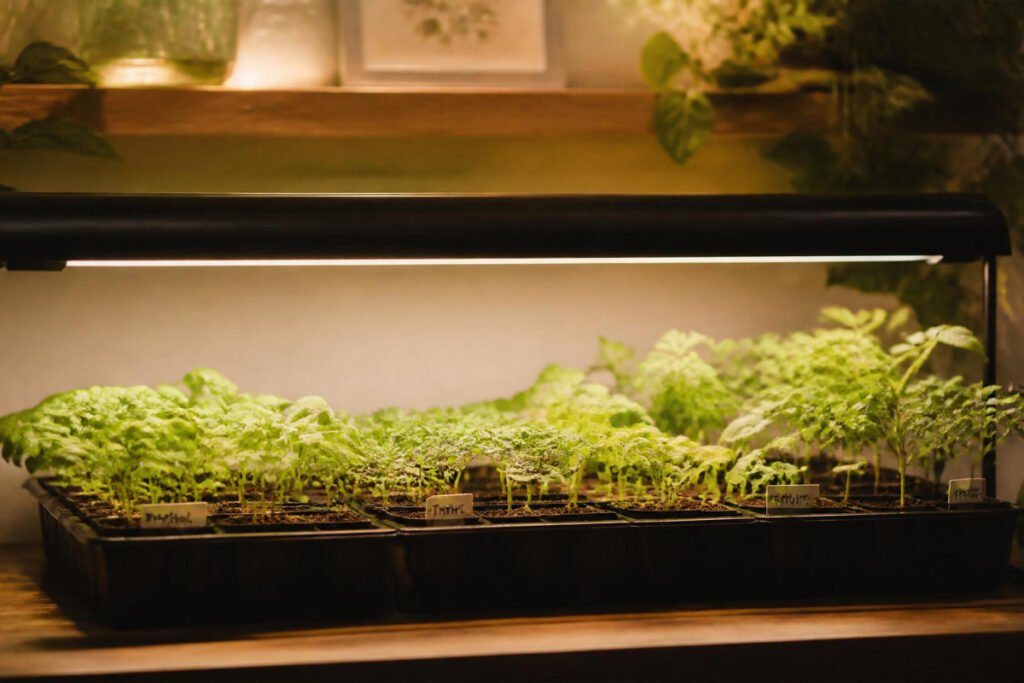
Table of Contents
- Why Seed Starting Fails More Often Than It Should
- How to Choose the Right Seed Starting Setup
- Best Seed Starting Supplies
- Comparison Table
- Seed Starting Supplies for Different Garden Setups
- How to Set Up a Seed Starting Station
- Common Seed Starting Mistakes
- Expert Tips
- Final Thoughts
- Frequently Asked Questions
Why Seed Starting Fails More Often Than It Should {#why-it-fails}
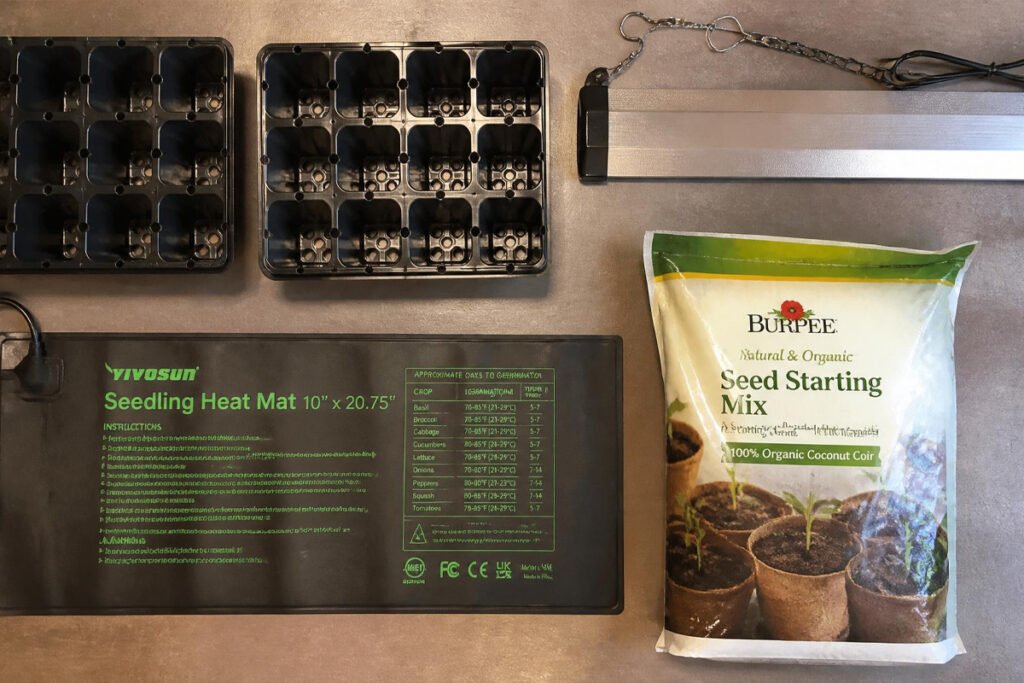
Most seed starting problems aren’t caused by bad seeds — they’re caused by mismatched conditions. Seeds need consistent moisture to germinate, then a steady, even source of light immediately afterward, or the seedling stretches upward searching for a light source that isn’t strong or close enough, producing the thin, leggy stems that rarely survive transplanting.
Temperature plays an equally large role, and it interacts closely with the soil testing and pH work many gardeners already do before transplanting outdoors. Many warm-season crops like tomatoes and peppers germinate far faster and more reliably in soil that’s a consistent 70 to 80°F, a range that’s difficult to hold using ambient room temperature alone, especially near a cool windowsill. Each of the five supplies in this guide solves one specific piece of this puzzle — moisture, temperature, light, or physical growing space — rather than being a generic add-on.
How to Choose the Right Seed Starting Setup {#how-to-choose}
Before buying, consider three factors:
How many seedlings are you starting? A small windowsill setup for a few tomato and pepper plants needs far less equipment than starting dozens of seedlings for a full raised bed layout.
What are you growing? Warm-season crops like tomatoes and peppers benefit significantly from a heat mat, while cool-season crops like lettuce and spinach germinate well at room temperature without one.
How much natural light do you actually get? A bright south-facing window may be enough for some crops, but most indoor setups benefit from supplemental grow lights, especially through late winter when natural daylight is limited.
Best Seed Starting Supplies {#best-supplies}
Seed Starting Trays with Cells
Overview: Divided trays with individual cells for each seed, giving every seedling its own contained root space instead of competing in one shared container.
Why It Works: Individual cells prevent young root systems from tangling together, which makes transplanting dramatically less stressful on the seedling later. Most trays also use a cell size specifically proportioned to hold enough soil for early root development without drowning small seeds in excess moisture, a common cause of damping off in oversized containers.
Key Features:
- Individual cells prevent root tangling between seedlings
- Standard sizing fits most seed starting mixes and grow light setups
- Often paired with a bottom watering tray to reduce surface moisture issues
Best For: Starting multiple seedlings at once for transplanting into raised beds or an in-ground plot.
Pros: ✅ Prevents root tangling ✅ Makes transplanting far less stressful on seedlings ✅ Reusable across multiple seasons if cleaned properly
Cons: ❌ Smaller cells may need transplanting into a bigger container before final planting for slow-growing crops ❌ Reused trays need to be sanitized to prevent disease carryover
Our Verdict: Worth buying before anything else on this list — it’s the physical foundation everything else builds on, and using anything else, like a shared shallow container, makes the eventual transplant into your tool kit’s planting routine noticeably harder on the seedlings.
Seed Starting Mix
Overview: A lightweight, sterile growing medium specifically formulated for germination, distinct from regular potting soil or garden soil.
Why It Works: Standard potting soil is often too dense and nutrient-rich for germinating seeds, and garden soil can carry fungal spores and pathogens that cause damping off in vulnerable young seedlings. Seed starting mix is deliberately lighter and sterile, allowing tiny root systems to push through easily while avoiding the disease risk that comes with using regular soil straight from the garden.
Key Features:
- Sterile composition reduces damping off risk significantly
- Lightweight texture lets fragile roots establish easily
- Retains moisture evenly without staying waterlogged
Best For: Every stage of the germination process, from sowing through the first few weeks of seedling growth.
Pros: ✅ Significantly reduces disease risk compared to garden soil ✅ Ideal texture for delicate young roots ✅ Consistent, predictable moisture retention
Cons: ❌ Low in nutrients, so seedlings need feeding once true leaves appear ❌ Not reusable in the same way garden soil is
Our Verdict: Worth buying specifically for this purpose rather than substituting regular potting soil — the disease-prevention benefit alone justifies the extra cost, especially compared to soil pulled straight from a bed that’s still working through a crop rotation cycle and may carry residual pathogens.
Seedling Heat Mat
Overview: A thin, waterproof heating pad placed under seed trays to maintain a warm, consistent soil temperature that speeds and improves germination rates.
Why It Works: Many popular vegetables, especially tomatoes and peppers, germinate fastest and most reliably in soil that’s noticeably warmer than typical indoor room temperature. A heat mat raises and holds soil temperature in that ideal range regardless of a cool windowsill or drafty room, which can cut germination time significantly and improve the percentage of seeds that actually sprout.
Key Features:
- Maintains consistent soil warmth regardless of ambient room temperature
- Speeds germination time for warm-season crops noticeably
- Waterproof design allows safe use directly under moist trays
Best For: Warm-season crops like tomatoes, peppers, and eggplant, especially when starting seeds in a cooler room or early in the season.
Pros: ✅ Improves germination speed and success rate ✅ Removes dependence on ambient room temperature ✅ Reusable every season
Cons: ❌ Less necessary for naturally cool-germinating crops like lettuce or spinach ❌ Requires monitoring to avoid overheating without a thermostat control
Our Verdict: Worth buying specifically if you’re starting warm-season crops indoors — this is often the single biggest factor separating slow, spotty germination from a tray that sprouts evenly within days.
Grow Light
Overview: A supplemental light source positioned directly above seedlings, providing the intensity and duration of light that a window alone usually can’t match, especially in late winter.
Why It Works: Seedlings that don’t get enough direct light stretch upward searching for a stronger source, producing thin, weak, “leggy” stems that struggle to support the plant later. A grow light positioned just a few inches above the seedlings delivers consistent, strong light in every direction rather than the one-sided, often weaker light coming through a window, resulting in shorter, sturdier, healthier seedlings.
Key Features:
- Full-spectrum LED options mimic natural daylight closely
- Adjustable height accommodates seedlings as they grow taller
- Timer compatibility makes consistent daily light duration easy to maintain
Best For: Any indoor seed-starting setup, especially in rooms without strong, direct south-facing light for most of the day.
Pros: ✅ Prevents leggy, weak seedlings ✅ Works regardless of natural window light availability ✅ Adjustable for seedlings at different growth stages
Cons: ❌ Adds to electricity use during the setup period ❌ Requires a stand or hanging setup to position correctly above trays
Our Verdict: Worth buying for nearly any indoor setup that isn’t right next to a strong, unobstructed south-facing window — the difference between grow-light and window-only seedlings is usually visible within the first week.
Humidity Dome
Overview: A clear plastic cover placed over seed trays immediately after sowing, trapping moisture and warmth to support the critical first days of germination.
Why It Works: Seeds need consistently moist (not soggy) conditions to germinate, and a dome traps humidity so the soil surface doesn’t dry out between waterings, which is one of the most common reasons seeds fail to sprout at all. Once seedlings emerge, the dome is typically removed to allow airflow, since keeping it on too long after germination increases the risk of fungal issues.
Key Features:
- Traps humidity and warmth during the germination window
- Often includes adjustable vents to gradually introduce airflow
- Clear design still allows light through if used before seedlings emerge
Best For: The specific germination window, from sowing until the first seedlings break the soil surface.
Pros: ✅ Prevents soil from drying out between waterings ✅ Speeds and evens out germination ✅ Inexpensive and reusable
Cons: ❌ Must be removed promptly after germination to prevent fungal problems ❌ Not useful once seedlings are established and growing
Our Verdict: Worth buying as a low-cost way to protect the most fragile part of the entire process — the first several days after sowing, when inconsistent moisture is one of the most common and preventable causes of failed germination.
Comparison Table {#comparison-table}
| Supply | Best For | Solves | Priority Level |
|---|---|---|---|
| Seed Starting Trays | Multiple seedlings, easy transplanting | Root tangling, transplant stress | High |
| Seed Starting Mix | Every germination stage | Damping off, poor root establishment | High |
| Seedling Heat Mat | Warm-season crops | Slow or uneven germination | High (for tomatoes/peppers) |
| Grow Light | Any indoor setup | Leggy, weak seedlings | High |
| Humidity Dome | The germination window only | Seeds drying out before sprouting | Medium |
Seed Starting Supplies for Different Garden Setups {#different-setups}
Raised Bed Gardens
Gardeners transplanting into raised beds benefit from starting more seedlings at once than a windowsill setup typically allows, making cell trays and a grow light especially valuable for producing enough healthy transplants to fill several beds.
Single-Plot In-Ground Gardens
Larger in-ground plots often need the biggest seedling count of any setup, making a full station with trays, a heat mat, and a grow light worth the investment to reliably produce transplants at scale — especially once those seedlings need to fill a bed according to your seasonal planting calendar.
Container and Small-Space Gardens
Container gardens usually need far fewer seedlings, so a small tray, a humidity dome, and a compact grow light often cover the entire need without requiring a heat mat or larger setup.
How to Set Up a Seed Starting Station {#how-to-set-up}
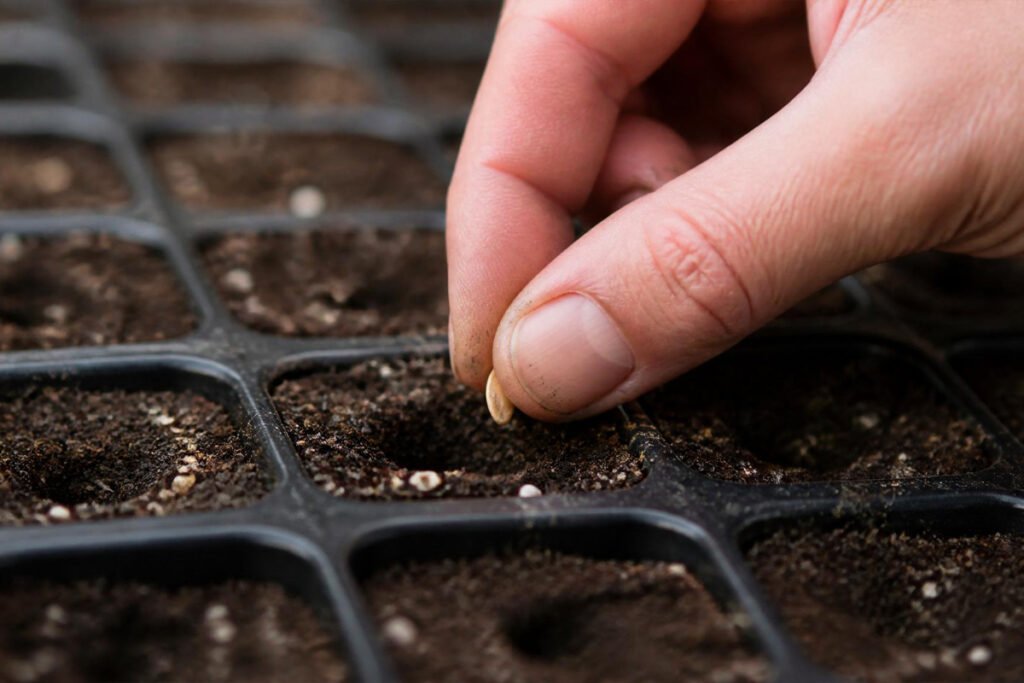
Step 1: Fill Trays with Seed Starting Mix
Moisten the mix before filling cells, since dry mix can be difficult to wet evenly once seeds are already sown on top.
Step 2: Sow Seeds at the Correct Depth
Follow seed packet depth guidance closely — most vegetable seeds are sown shallower than gardeners expect, since planting too deep is a common cause of failed germination.
Step 3: Cover with a Humidity Dome
Place the dome over the tray immediately after sowing to lock in moisture during the germination window.
Step 4: Add Bottom Heat for Warm-Season Crops
Place trays on a heat mat if starting tomatoes, peppers, or other warm-season crops, monitoring soil temperature to stay in the ideal range.
Step 5: Remove the Dome and Add Light at First Sprouts
As soon as seedlings emerge, remove the humidity dome and position a grow light a few inches above the tray to prevent legginess from the very first day.
Common Seed Starting Mistakes {#common-mistakes}
Using regular potting or garden soil instead of seed starting mix. Garden soil in particular carries a much higher risk of fungal pathogens that cause damping off in young seedlings, similar to the risk that comes from skipping proper weed control and letting disease-hosting plants linger nearby. Stick with a sterile, dedicated seed starting mix.
Leaving the humidity dome on too long after germination. Keeping the dome on past the point of sprouting traps excess moisture and significantly raises the risk of fungal disease. Remove it as soon as seedlings emerge.
Relying on a windowsill alone without supplemental light. Even a bright window rarely delivers strong enough, all-directional light for healthy seedling growth, leading to the classic leggy, weak-stemmed seedling problem. Pair natural light with a grow light for consistent results.
Expert Tips {#expert-tips}
Bottom-water seedlings whenever possible. Watering from below, by setting trays in a shallow water tray, reduces surface moisture that can encourage damping off compared to watering directly from above, using the same gentle-watering principle covered in our watering guide.
Feed seedlings lightly once true leaves appear. Seed starting mix is intentionally low in nutrients, so a diluted organic fertilizer like fish emulsion helps seedlings once they’ve moved past the initial germination stage.
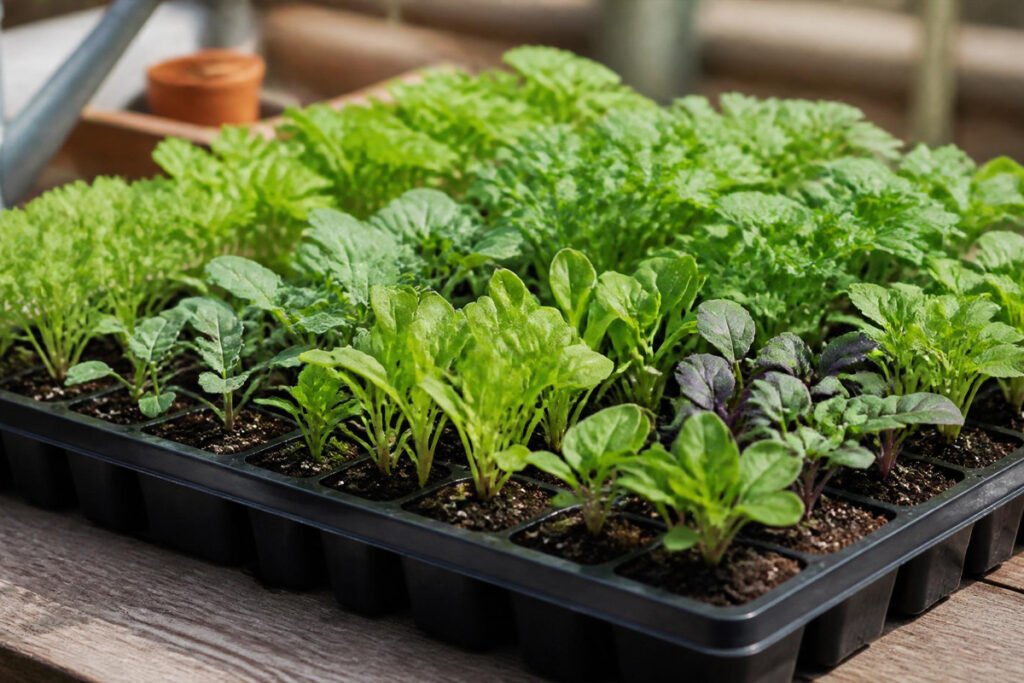
Harden off seedlings before transplanting outdoors. Gradually expose indoor-started seedlings to outdoor conditions over about a week before moving them permanently into a raised bed or in-ground plot, since a sudden change in light, wind, and temperature can shock plants that were grown entirely indoors.
Final Thoughts {#final-thoughts}
Best overall starting point: seed starting trays paired with a proper seed starting mix, since together they address the two most common early failure points. Best for warm-season crops: a seedling heat mat, which noticeably improves germination speed and success rate for tomatoes and peppers. Best for any indoor setup: a grow light, since few windows alone provide strong enough light to prevent leggy seedlings.
None of these five supplies are complicated to use, but each solves a specific, common failure point in the seed-starting process. Combined with the techniques covered in a full seed-starting guide, the right supplies are usually the difference between seedlings that struggle and ones that transplant into the garden strong and ready to grow.
Frequently Asked Questions {#faq}
Do I need all five supplies to start seeds successfully? Not necessarily — trays and seed starting mix cover the basics for most crops, while a heat mat and grow light become more important for warm-season crops or rooms without strong natural light.
Can I reuse seed starting trays from a previous season? Yes, as long as they’re thoroughly cleaned and sanitized first, since leftover soil or plant debris can carry disease spores that affect the next batch of seedlings.
Is seed starting mix really necessary, or can I use regular potting soil? Regular potting soil is often too dense and can carry fungal issues that cause damping off, making a dedicated, sterile seed starting mix a meaningfully safer choice for germination specifically.
Do all vegetables need a heat mat to germinate? No — cool-season crops like lettuce and spinach germinate well at normal room temperature, while warm-season crops like tomatoes and peppers benefit the most from added bottom heat.
How close should a grow light be to seedlings? Most grow lights work best positioned just a few inches above the seedlings, moved upward gradually as the plants grow taller to maintain that close but not touching distance.
When should I remove the humidity dome from my seed trays? Remove it as soon as the first seedlings emerge from the soil, since keeping it on longer traps excess moisture and increases the risk of fungal problems.
Can I start seeds without any of these supplies at all? It’s possible using basic containers and a sunny window, but success rates and seedling quality are typically much lower without at least a proper seed starting mix and supplemental light.
How long does it take seeds to germinate with a heat mat versus without one? This varies by crop, but many warm-season vegetables germinate noticeably faster and more evenly with consistent bottom heat compared to relying on ambient room temperature alone.
Do seedlings need fertilizer while still in their starting trays? Yes, once true leaves appear, since seed starting mix is intentionally low in nutrients and seedlings benefit from a light, diluted feed at that stage.
What’s the biggest mistake beginners make with seed starting supplies? Skipping a dedicated seed starting mix in favor of regular soil is one of the most common mistakes, since it significantly raises the risk of damping off in young, vulnerable seedlings — a similar setup mindset to skipping proper gardening accessories and pushing through avoidable discomfort elsewhere in the garden.
Can I use a regular household lamp instead of a grow light? Standard household bulbs generally don’t provide the light intensity or spectrum seedlings need, often leading to the same legginess problem as relying on a window alone.
How do I know when seedlings are ready to transplant outdoors? Seedlings are generally ready once they have a few sets of true leaves and have been properly hardened off to outdoor conditions, typically covered in detail in a full transplanting guide.
Author: Pamela Reese
Pingback: 6 Best Soil Thermometers for Perfect Planting Timing: Proven Top Picks & Buying Guide | Pro Gardening Tips – Expert Advice for a Thriving Garden